» How to Add Courses
In the course panel of LearnDash you will get almost everything for building your course. Usually, there are three main parts of this panel.
- All courses
- Settings
- Short codes
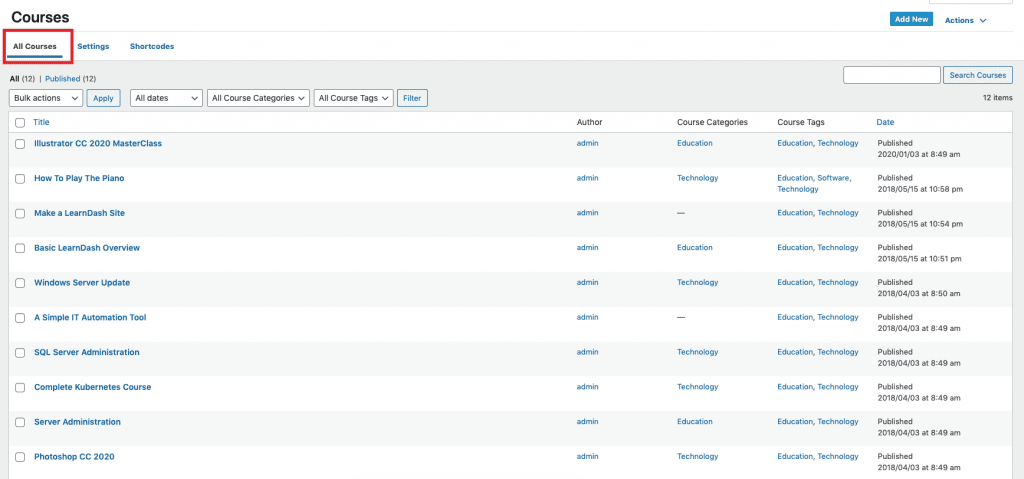
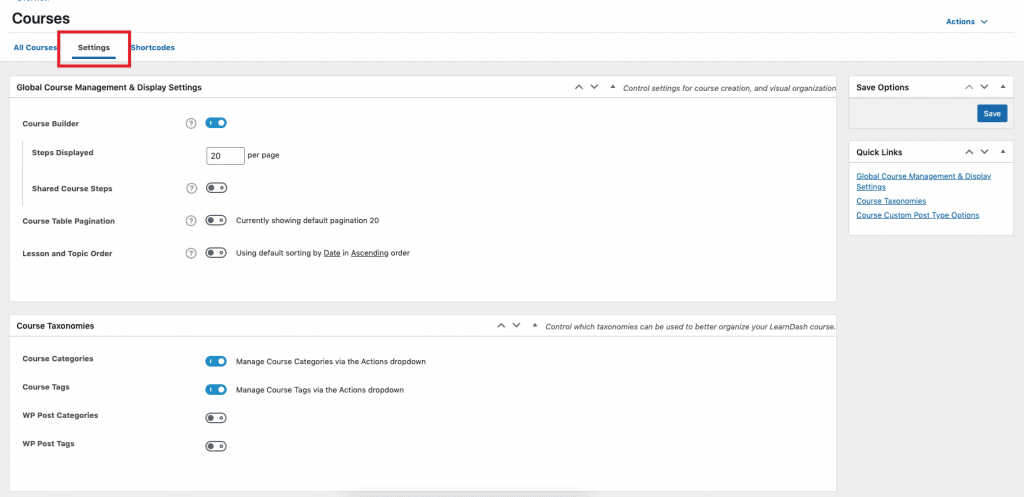
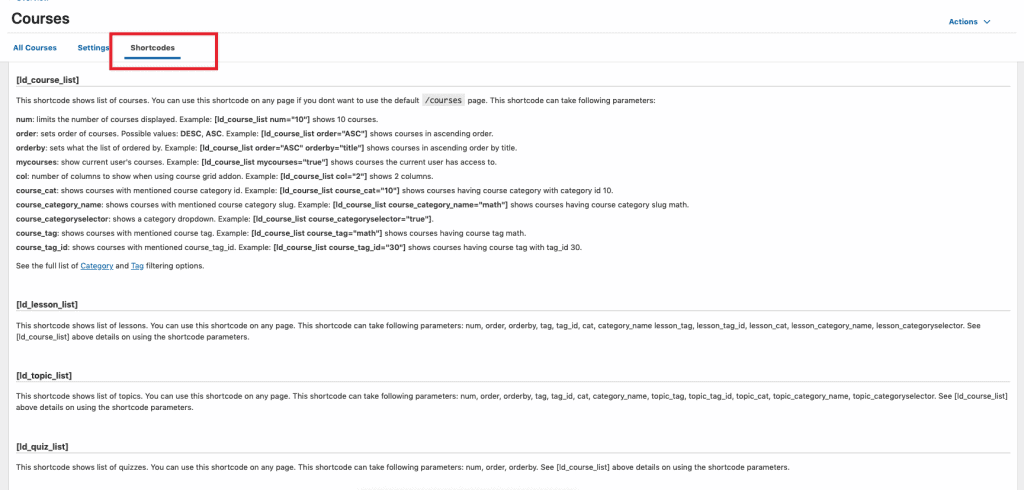
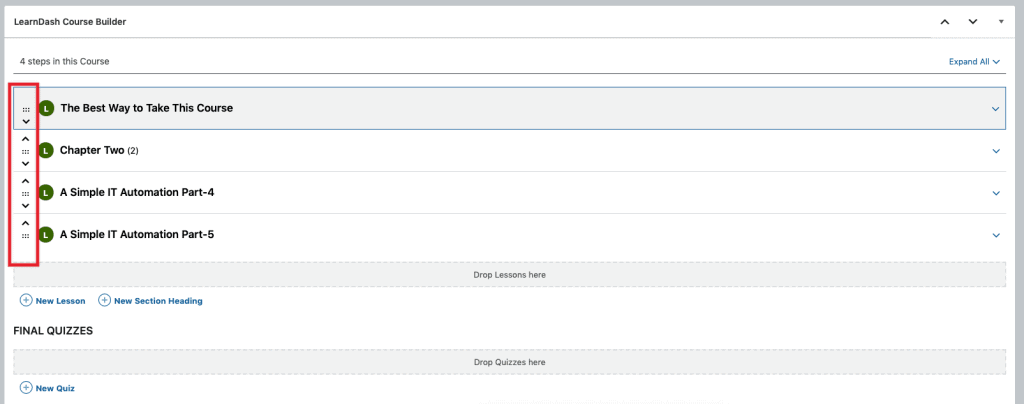
In the all courses panel, all of your courses will be displayed there. If you want to add a new course, click on the add new button on that panel’s right side. You will get a course builder panel while creating a new course. Here, you can add new lessons, quizzes, and topics with the help of that builder.
You can also share the same lesson with multiple courses. After opening the builder panel, you will get a view like a screenshot below. In this panel, you can also rearrange any lesson or quiz whatever order you want.

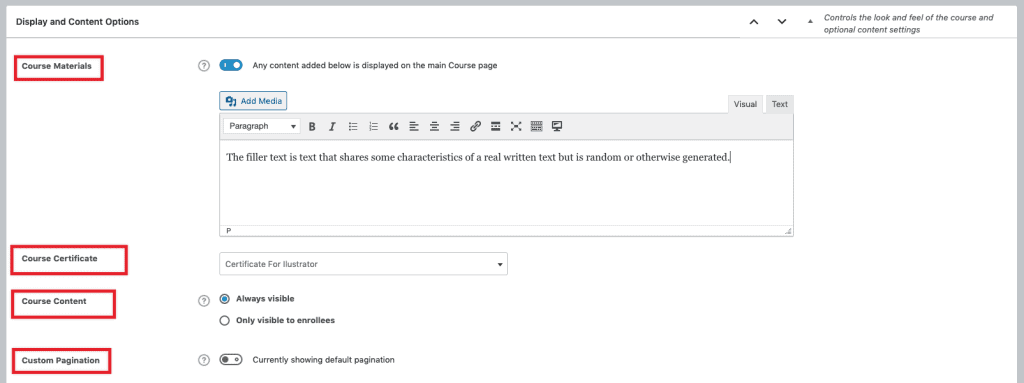
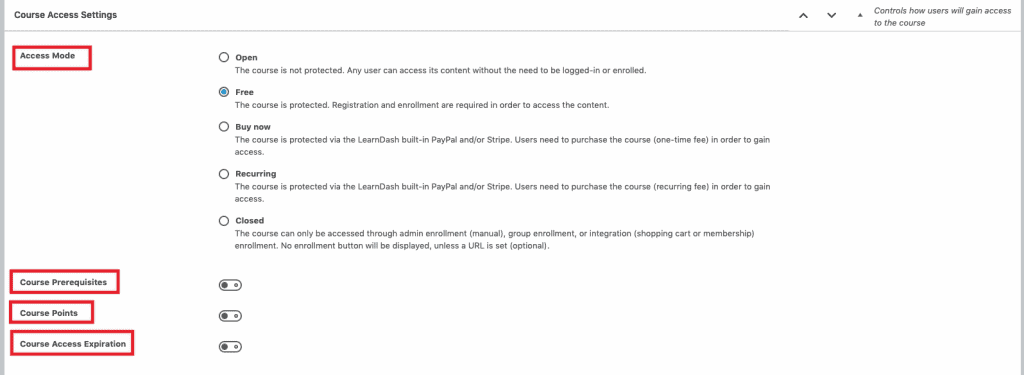
Inside the settings panel of the individual course you will find some control for your course material visibility. Here you can add certificates for the course and many more.
If you want to explore more about course building, follow the following link.
» How to Add Lesson
Control the lesson taxonomy over the settings panel of the lesson. Here, you can enable lesson content for WordPress default search by switching on the lesson search option and also add a new taxonomy for any lesson from all lesson tabs in the right top action button.


To add a new lesson, you need to click on the add new button on the right side of all lesson tabs and add lesson content individually. Find something more important like associated course, assignment upload, sample lesson, lesson timer regarding individual lessons in the settings panel.
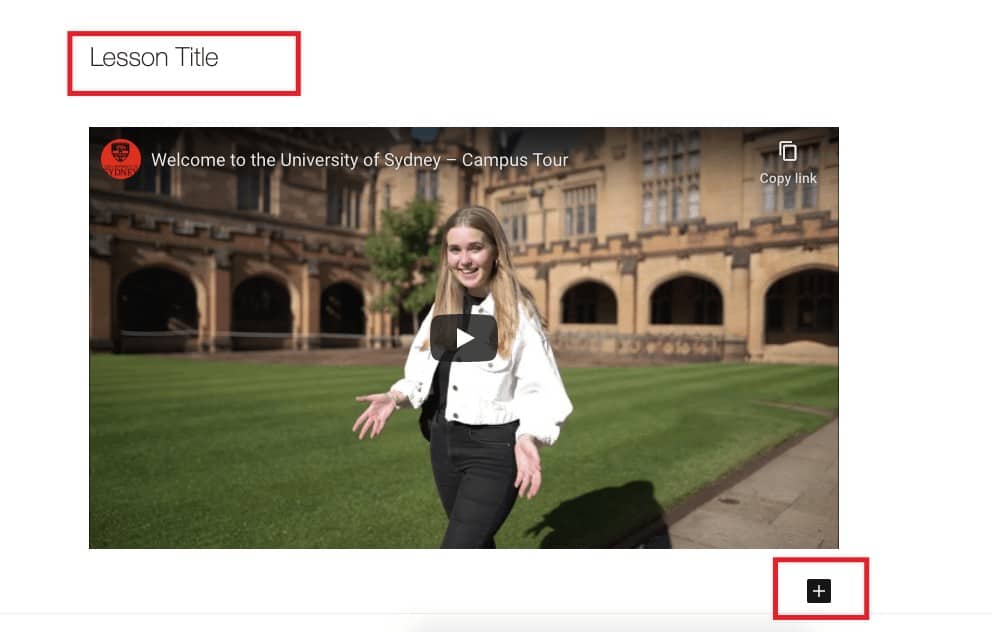


You will find more details about creating a lesson from this link.
» How to Setup Quiz
LearnDash quiz tab comes with many options like quiz builder, question and question type, quiz access, and progression. You can also find some necessary settings like the leaderboard of quiz and display settings of any quiz.


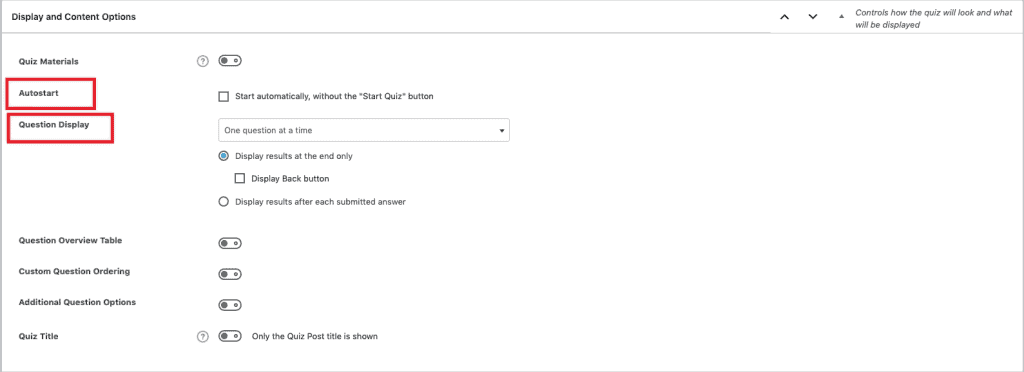
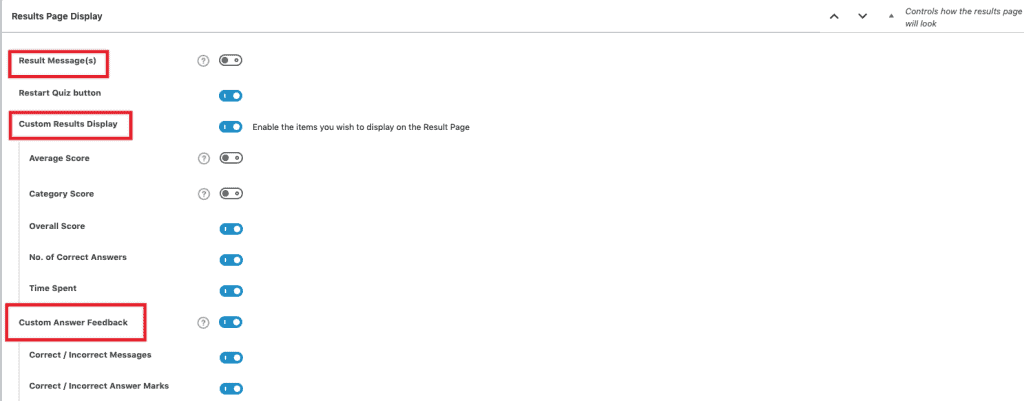
You will find more information about creating quiz questions from this link.
» How to Setup Student Dashboard
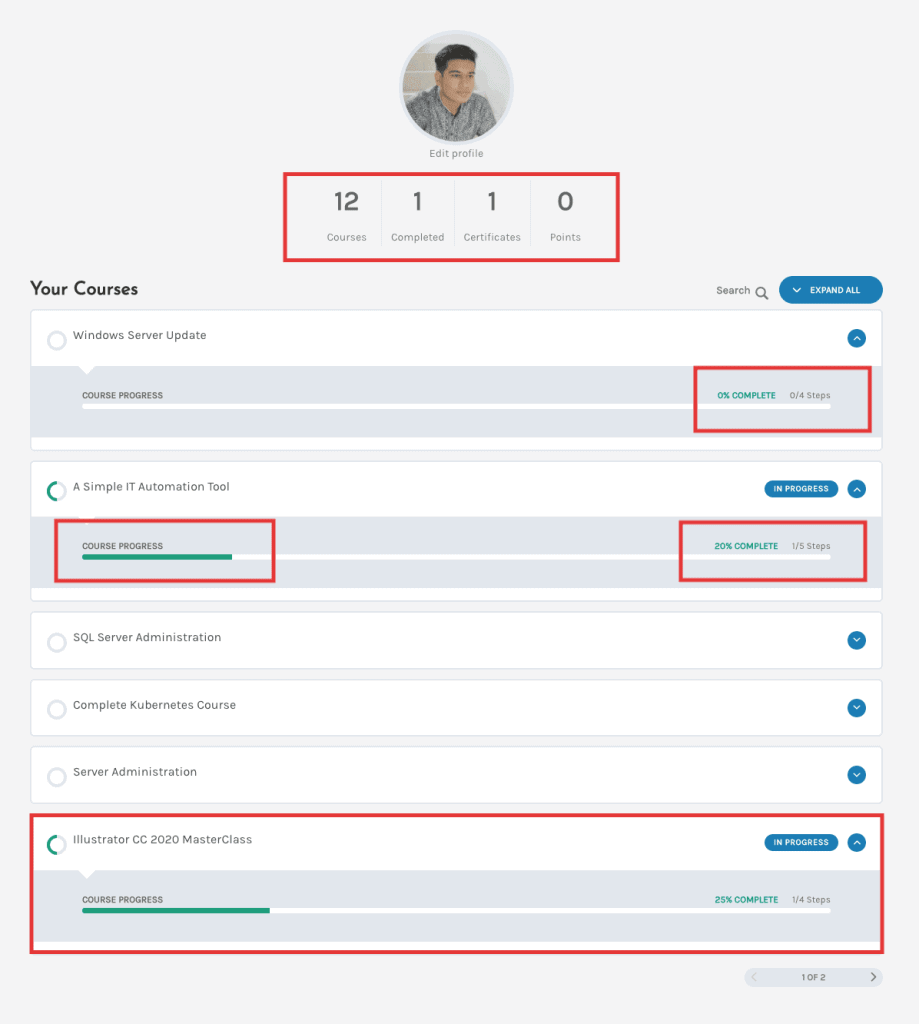
There is a dedicated dashboard for each enrolled student of any respective course. A student can get an overview of enrolled course progress, download a completed course certificate, course point, and much more stuff like below. You can also use [ld_profile] this shortcode to create a student dashboard.
LearnDash Course Elements
Keeping your need in mind, we offer two different WidgetKit pro course elements for the Elements. With this LearnDash Course List and LearnDash Course Tab element in the WidgetKit Pro plugin, you can easily showcase any courses on any page.
Use the LearnDash Course List element to display all courses as list-style and the LearnDash Course Grid element to dynamically display all courses. Here dynamic defines that all respective category courses are loaded on demand. When you click on the separate tab, only that category courses will be loaded.
Here are some more options that you will get inside those two elements onwards.
LearnDash Course List
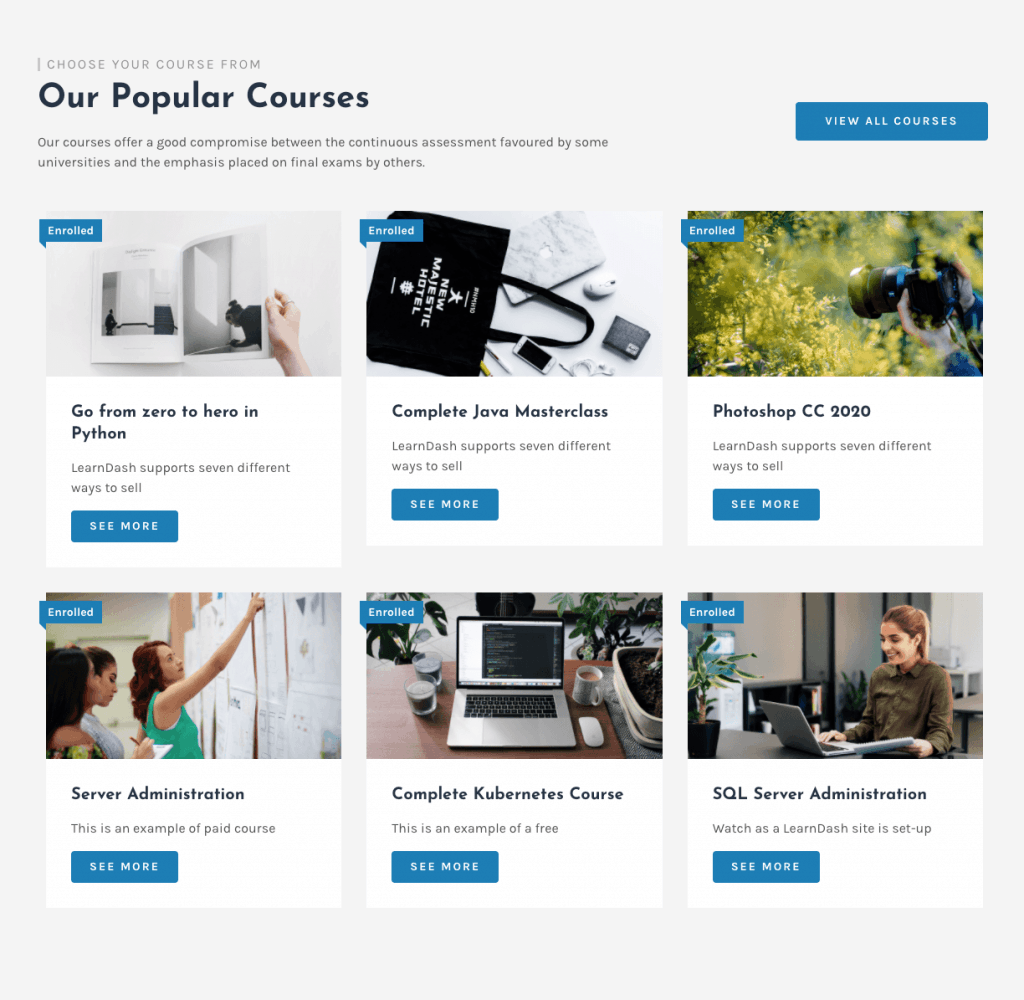
This is the physical view of the LearnDash Course List element. There are a couple of configuration options inside there.
At-first drag this LearnDash Course List element inside your page from WidgetKit Pro Category. Then you will get your needed configuration from the left panel of Elementor.
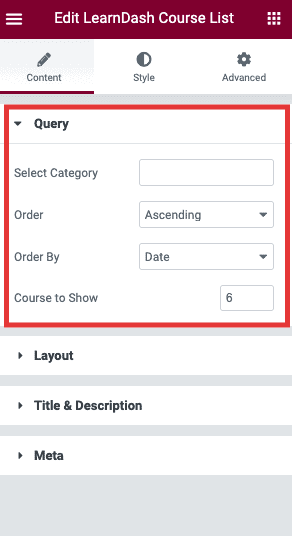
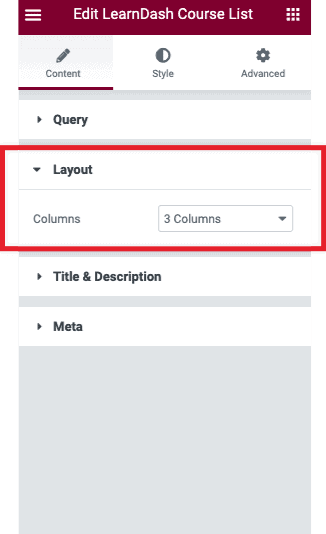
Inside the query panel you can choose a specific category course to display. You can also order them by date, title and stuff like that. And also you chose the number of courses to display.
Inside the layout panel, you can choose how many columns you want to display.
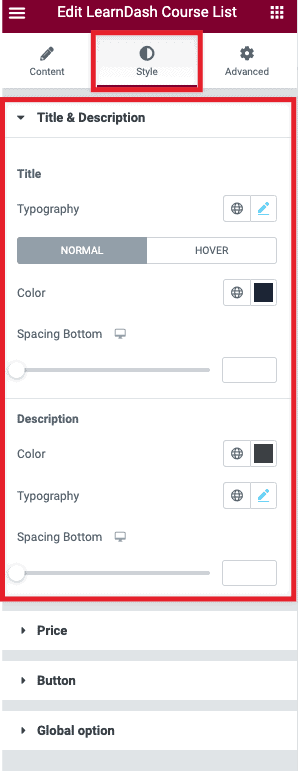
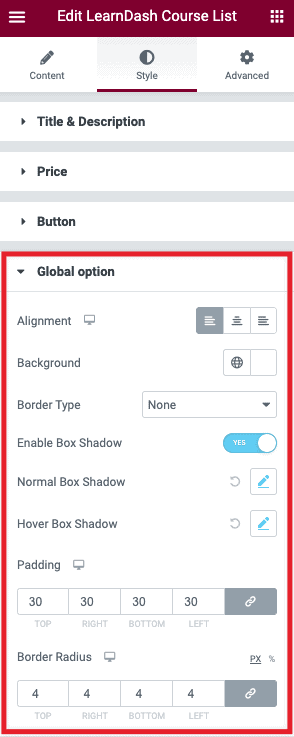
There are also style tab for this element. You can control typography, color and some breathing space for that element. Check below screenshot.
LearnDash Course Tab
Here is the view of this element. There are a couple of configuration options inside this element.
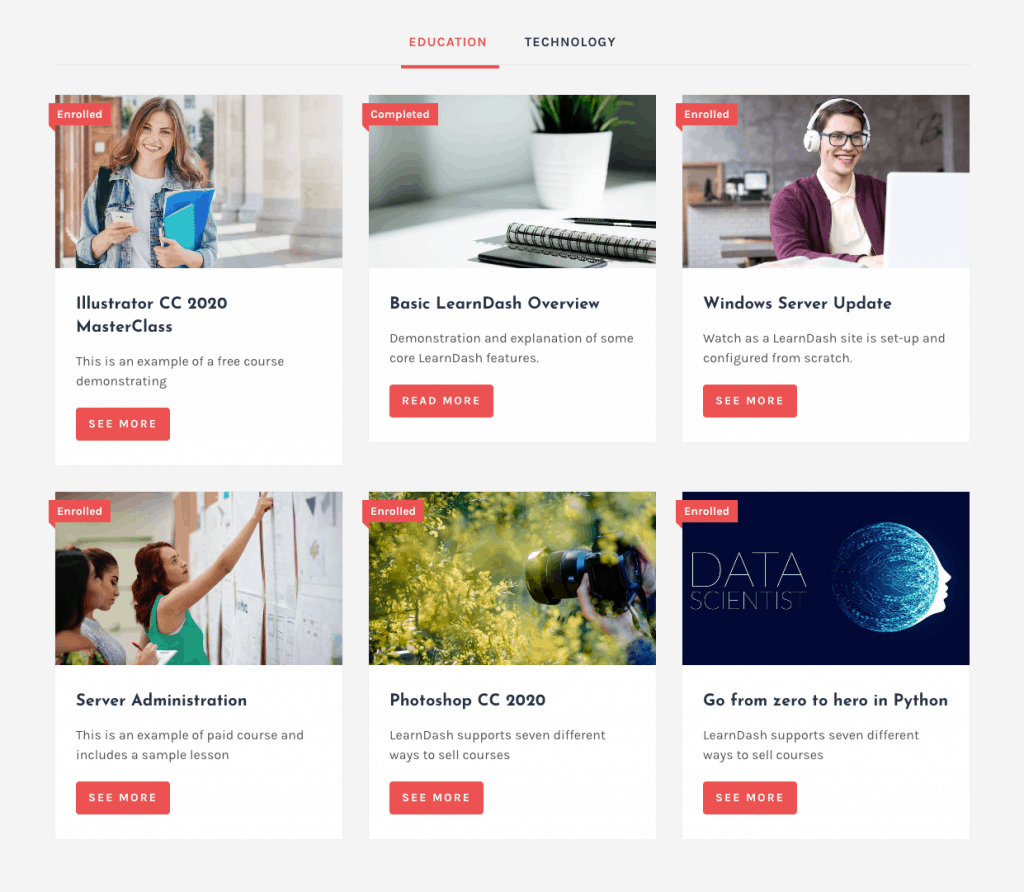
At-first drag this LearnDash Course Tab element inside to your page from WidgetKit Pro Category. Then you will get configuration from the left panel of Elementor.
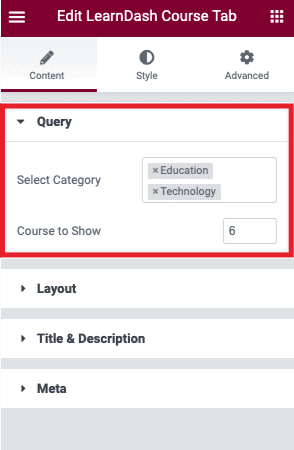
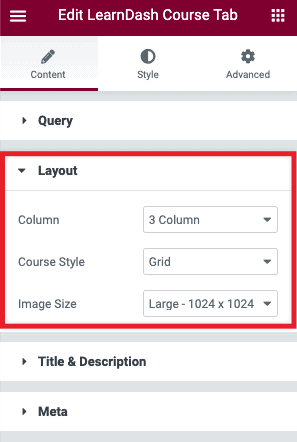
Inside the query panel, you can choose a specific category course to display. You can also order them by date, title, and stuff like that, and select the number of courses to display.
Inside the layout panel, choose how many columns you want to display.
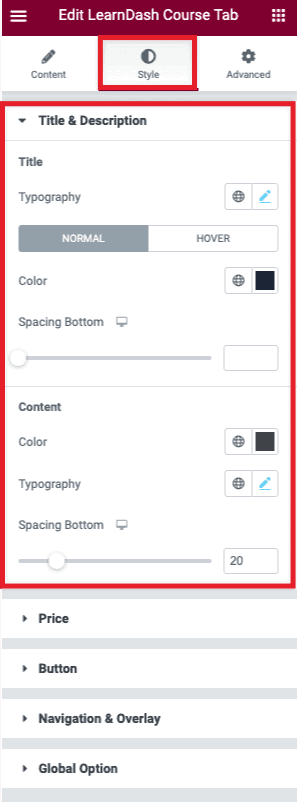
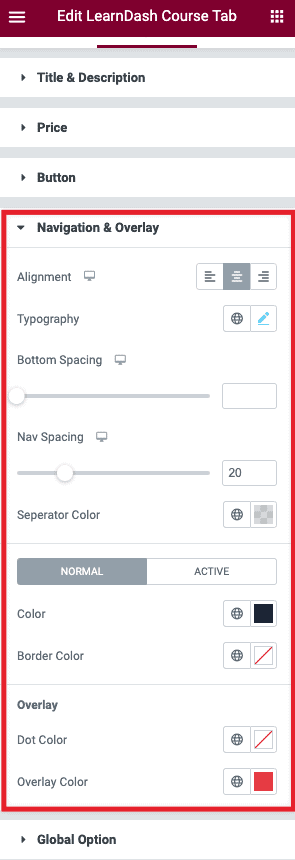
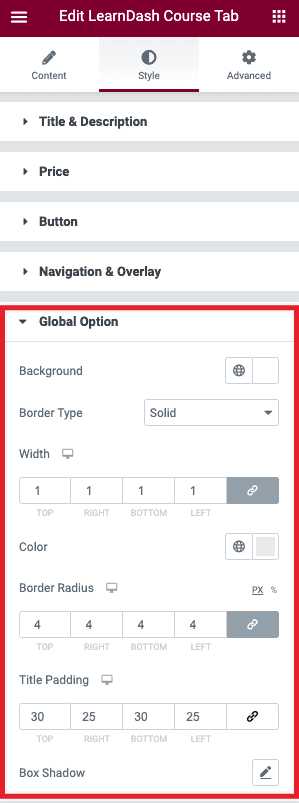
There are also style tabs for this element. You can control typography, color, and some breathing space from there. Check them from the below screenshot.
