Do you ever wonder why your website losing hundreds or thousands of visitors?
Research Shows website design has a 75% influence on a website’s credibility, and here having unorganized content can hurt your website design so badly.
The sole purpose of your website should be attracting customers, encouraging them to interact with the content, and eventually convincing them to purchase.
But if it is not well organized and purposely fails to attract/serve the customer, you may lose potential visitors. This eventually cost you a loss in sales and revenue simultaneously.
So, what is the solution, then? You must present your content in an organized way, as simple as that.
Now, If you own a WordPress website and want to organize your content more effectively by saving space, then using a tabbed design layout on your website can be a game changer.
The Advanced Tab lets you organize your content and give your users a great browsing experience. Moreover, it assists you in maintaining your readers’ interest.
In this article, we’ll go through the benefits of Advanced Tab for WidgetKit and show you how to use them to present your material generously.
What Is Advanced Tab?
Advanced Tab is a section or widget of WidgetKit that allows you to change the design of your pages and posts with advanced design settings.
You can add custom CSS, set margins and padding, adjust colors, and change the overall look and feel of the page. Also, avail of other advanced options such as custom font sizes, animations, and more.
The best part of Advanced Tab is that it allows you to concisely represent a large amount of information within a small arena. If you want to add a tabbed section, The Advanced Tab widget lets you do that anywhere on your WidgetKitsite.
Why You Should Use Advanced Tab For WidgetKit
Making sure your design is neat and clean is the most crucial component of web architecture. A well-organized website streamlined smooth navigation and simpler the post-making process through Advanced Tab.
Let’s discuss some of the key points why you should use the Advanced Tab For WidgetKit:
- With the Advanced Tab, you can organize lengthy content into manageable sections. You need to click on each tab, and the information inside that section will appear in the process. As a result, the Tabbed layout saves a lot of space and makes navigation easier for your visitors.
- You don’t need to endure the pain of scrolling through the entire page to find the information you want. According to research, people are more likely to remain around and look at what you have to offer when you use this layout. As a result, it significantly increases consumer conversion rates.
- You will get more flexibility to separate your content into tabs such as Overview, Features, Specs, Reviews, and many others
- If you are using the Elementor Page Builder, you must have noticed that it provides the ‘Tab’ feature by default. You can use this widget to design a nice Tabbed layout for your content. This element is certainly able to cover your basic requirement.
- If you want to extend its functionality and add more options, you should try out the ‘Advanced Tabs’ element offered by Advanced Tab for WidgetKit.
Key Features at a Glance
- Nav title and description are also available
- Can add any content
- Can add any image to content
- Can add individual image
- Can add any element or section
- The tab can be used as an accordion
- Has responsive control for all browsers and devices
- Organized & easy-to-navigate
- Easy to customize
- Top, Left, and Right directions / Horizontal and vertical layouts are also available
- Any built-in icon library or SVG icon can be used
- Nested layout design
- Custom Heading
How You Can Add an Advanced Tab on Your Website
First, to use Advanced Tab, you must make sure that you have WidgetKit activated on your WordPress website. Then you will be able to apply it to your website. Now let’s guide you through how you can personalize it per your preference.
Configure Content Tab
Advanced Tab supports two different layouts, which you can choose from Horizontal and Vertical tabs. Afterward, you can provide each of your tabs a title and description and choose an icon if you wish.
On top of that, you can set your preferred ‘Content Type’ for individual tabs. For example, you can either use your own custom text content, you can use a saved template to display, or can set an image for your content.
Besides, you can pick one of them to appear on the page load by turning on the ‘Active as Default’ toggle.
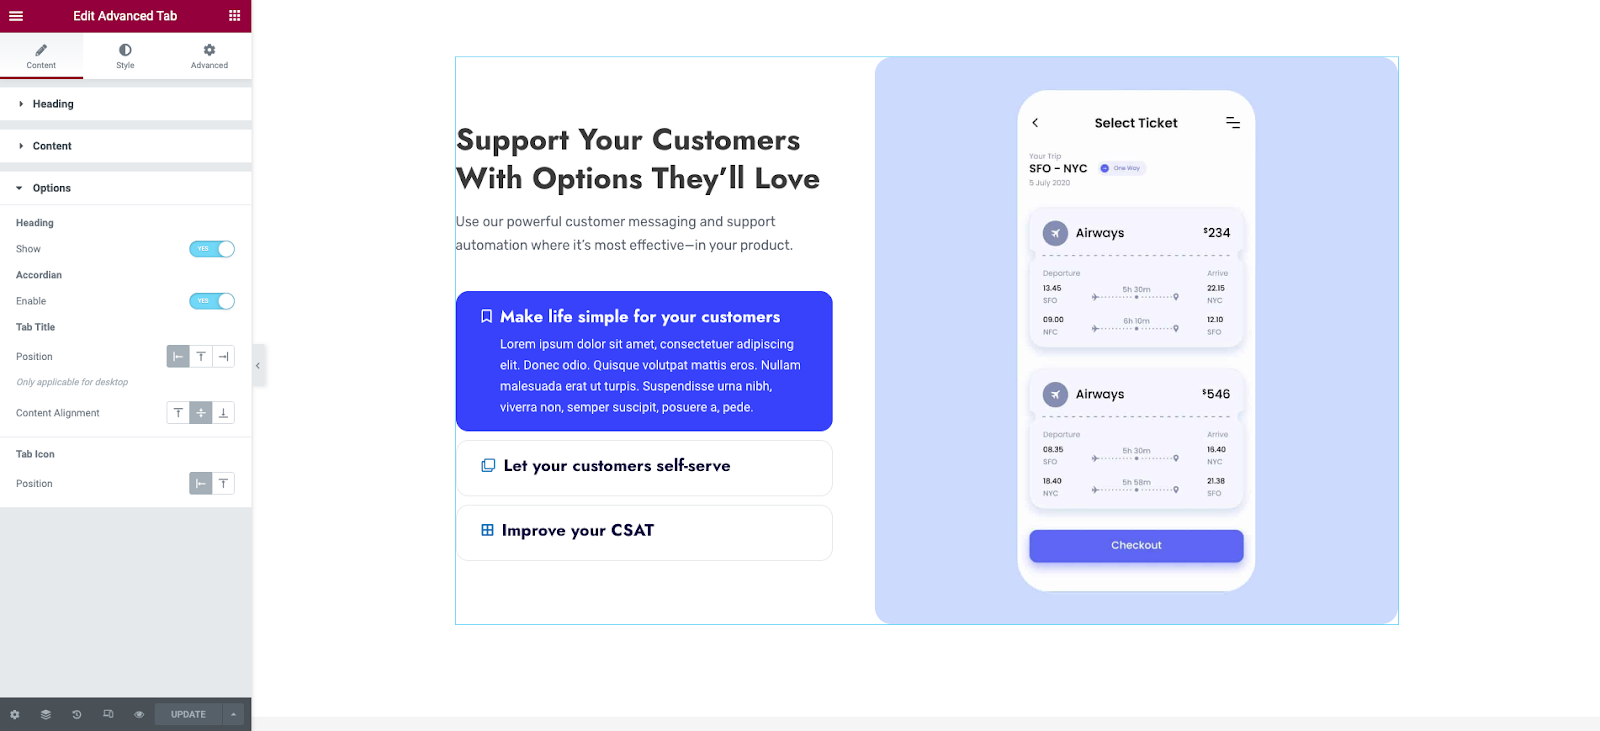
Moreover, you can add as many ‘Tab Items’ as you want. You can also change text style and add multiple images to your tabs. You are free to add a heading by activating the heading option. The tab title and tab icon position can be changed from the Options section. Advanced Tab also has Accordion option. You can enable this option if you want to show your content when a button is clicked.
Configure Style Tab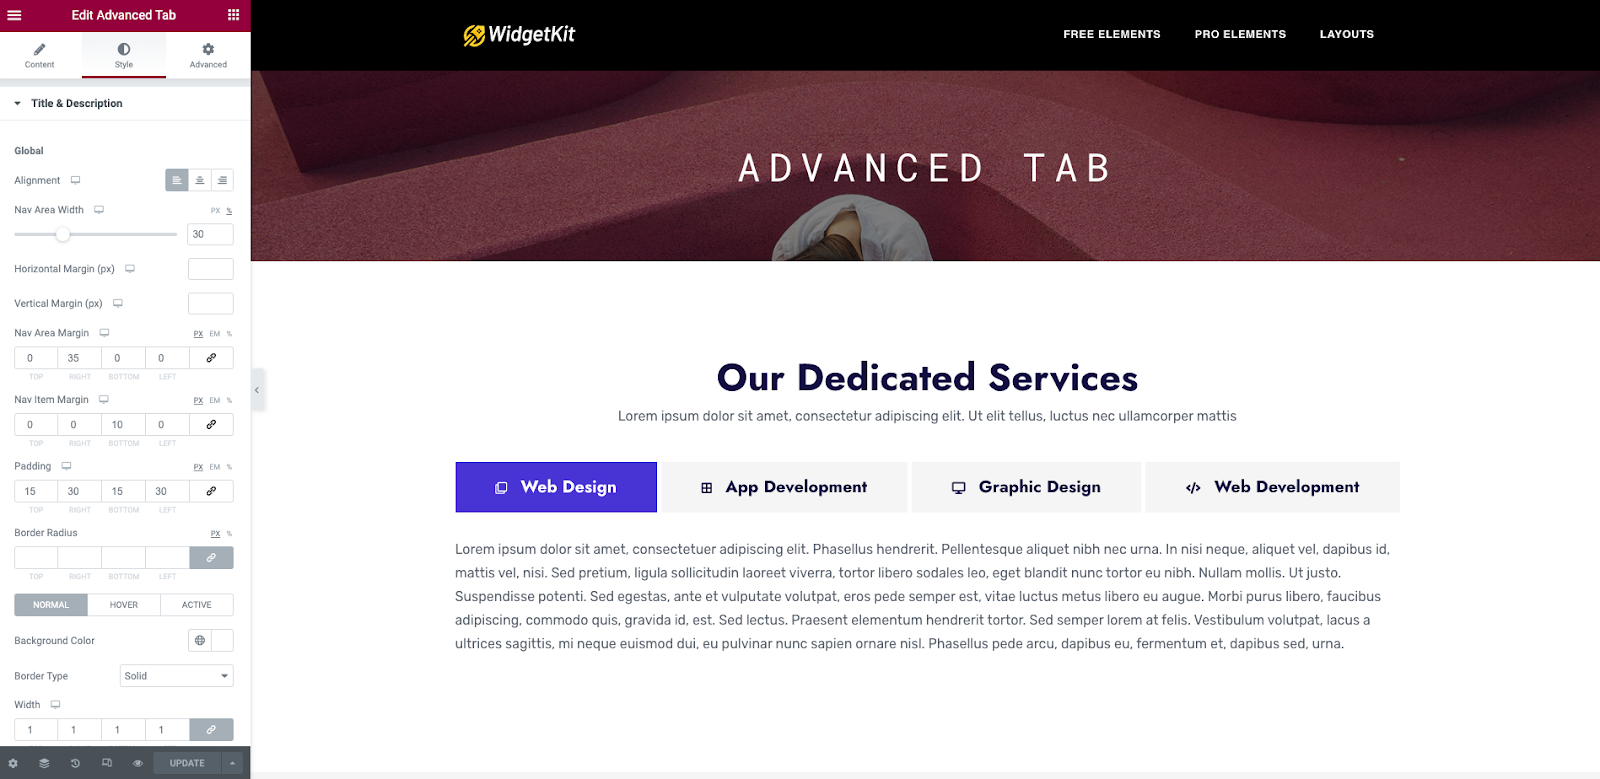
By switching to the ‘Style’ tab, you can make changes to the Tab, Content, and heading Styling, among other options.
Advanced Tab allows you to modify the features’ font styles, color schemes, and alignments.
Thanks to its responsiveness, you can even preview the appearance of your design for all the devices in real time.
Configure Advanced Tab
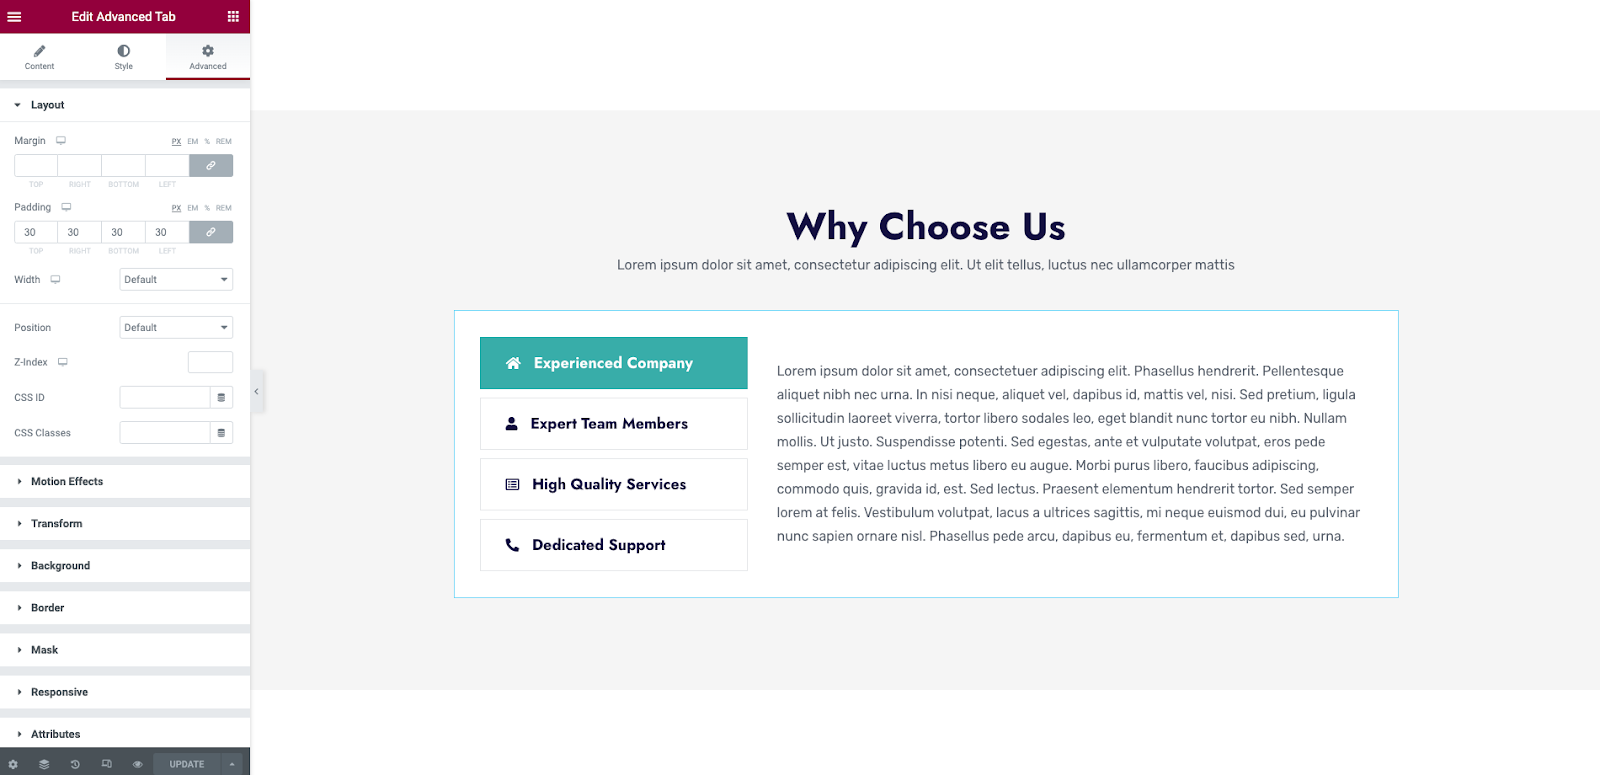
You can do more beautiful changes to your content by selecting the ‘Advanced’ tab. With this option, you can add attractive motion effects and hover effects to your content.
On top of that, you can do background design and border design. You can define how your design looks before you hover over a tab. You can add an image in the background.
Moreover, you are free add attributes and custom CSS to your content to make your design more beautiful
Expected Outcome
After you have finished with the configuration and styling of the Advanced Tab, you will get your desired result. Because of its ease of customization capability, you can even come
up with your unique design & ideas. Thus, it allows you to show off your creativity and construct an amazing Tabbed section for your website.
If you own an e-commerce website, you can use the ‘Advanced Tab for WidgetKit‘ for the e-commerce store. Implementing a Tabbed section’s layout on the product page would be an ideal example.
For this scenario, the best practice is to divide your content into tabs such as Overview, Features, Specs, Reviews, and many more. By simply clicking on each of them, the consumers will easily access key information about the item they are buying or looking for.
This amazing widget will enable you to create a website with an appealing and lovely design and increase website traffic.
Wrapping up
The attention of your visitors might be dramatically affected by poorly designed content, and they may even leave. So, you should aim to present your posts in a well-organized way. One of the design strategies you might attempt and use on your WordPress website is “Advanced Tabs.”
In conclusion, we hope that this guide will enable you to utilize this function and present your content beautifully easily.